- Clothing Patterns 101
- Sleeve Styles
- Flutter Sleeve
How to Draft a Flutter Sleeve Pattern
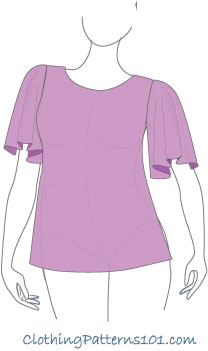
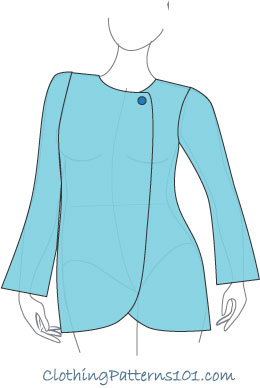
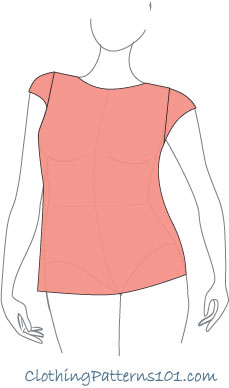
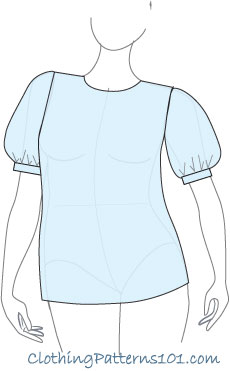
What is a "flutter" sleeve? It's a full, flowy - and usually short - sleeve that's perfect for a summer top or dress.
This is a very feminine look, very airy and cool in warm weather.
It can be made long or short, but it's the most "fluttery" when worn short.
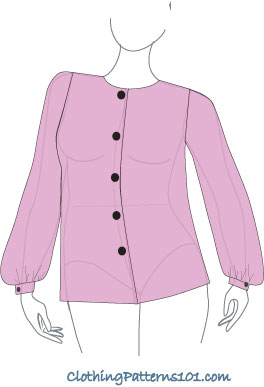
It's also a variation on a full sleeve - but the fullness is loose and fluid, not gathered into a cuff.
This page shows you how to create a sleeve using your blouse block. Don't forget to finish with hems and seam allowances!
|
The draft of the flutter sleeve is very similar to that of a "puff" sleeve, with all of the fullness at the hem instead of the sleeve cap. You can add fullness at the cap if you wish, but the version below is smooth at the cap. |
Drafting the Flutter Sleeve
|
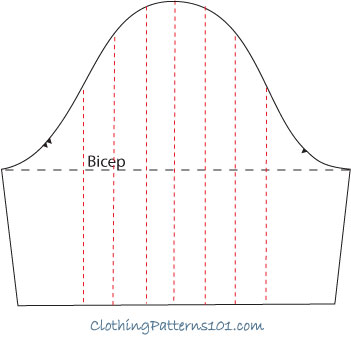
For this style, trace the sleeve block and shorten the traced copy to the desired length. In this example, I chose midway between the bicep and the elbow, or about 2” above the elbow. Then mark slash lines 1” - 1 1/2” apart, between the notches on the sleeve cap. We will not be adding fullness under the arm, so do |
|
Cut along these lines from the hem almost to the sleeve cap. It's best to keep the sections connected at the sleeve cap so they don't get out of order, but it's not a problem is you accidentally cut through the edge - just don't re-arrange the pieces! |
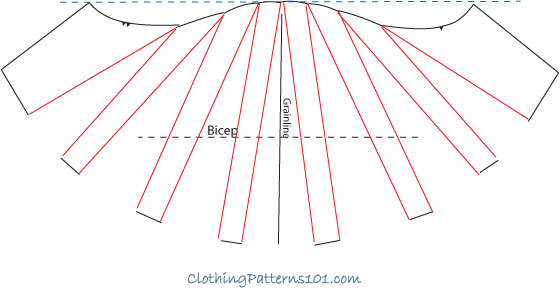
On another piece of paper, draw a grainline and bicep line, and lay the slashed pattern on top, lining up the grain and bicep lines. Draw a line perpendicular to the grainline at the top of the sleeve cap.
Then spread the pieces to add as much fullness as you’d like.
Do not allow the underarm point of the pattern to go beyond the line at the top of the cap, as shown. This is the maximum fullness for this sleeve, which will be similar to the sketch, above.
|
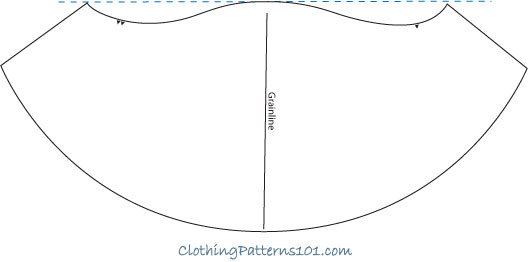
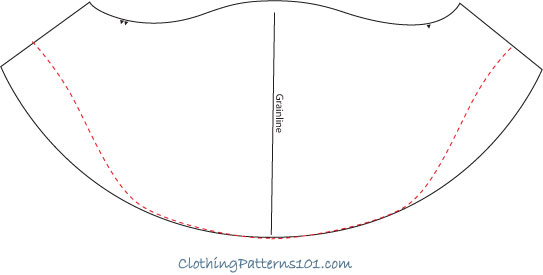
Your final pattern will resemble the one at right. The shape may seem a bit strange, but it will produce a nicely draped flare at the hem. All of the fullness in this sleeve is at the bottom - there is no gathering or "puffiness" at the sleeve cap. |
|
|
|
The hemline of the flutter sleeve is generally a bit longer at the underarm than at the outer arm, as shown in the sketch at the top of the page. If you prefer the hemline to be a bit more even, you can shorten it at the underarm seam, as shown with the red dashed lines at left. Either hemline is fine - it's purely a matter of personal choice. |
Give this one a try on your next garden party dress or warm weather top!
What's the Next Step?
Decide how you'd like to use this sleeve - on a dress or top - and the neckline you'd like to use. In this case, I'd keep the focus on the sleeve, so a simple neckline compliments the sleeve nicely.
And remember to add seam allowances and a hem before finishing your pattern!
Explore More Sleeve Styles
Return to Clothing Patterns 101 Home Page
ClothingPatterns101.com does not sell the personal information of its users to anyone, ever.
