- Clothing Patterns 101
- Making Your Personal Pattern Block
- Women's Blouse Block
How to Draft a Women's Blouse Block
Drafting a women's blouse block from your fitted pattern block is a piece of cake!
And once you have the blouse block (longer and a bit less fitted than the dress bodice), you'll have the basis for blouses and tops of any style you like.
Drafting the blouse block
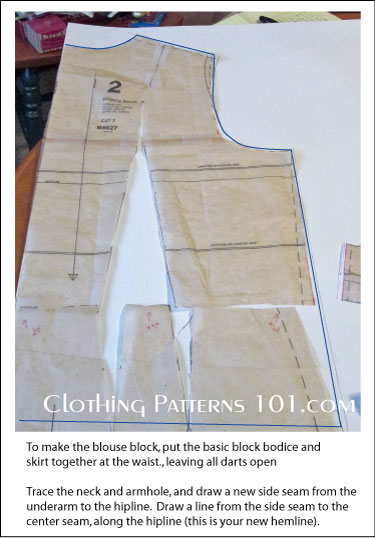
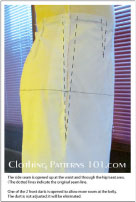
The first step in making the blouse from the fitted block is to join the fitted bodice and skirt at the waist, leaving the darts open. The back shoulder dart can be taped closed; it isn't necessary for a blouse. (I'm using the tissue pattern for this because it shows up better in the photos; you'll use your final fitted block for accuracy).
The bodice and skirt may not match at the waist when the darts are open; in this case, that's OK.
The blouse will be a little less fitted through the waist than the fitted bodice pattern, so the side seam will bypass the unevenness at the waist.
Draw a straight line from the underarm to the hipline. Then draw a line along the hipline from the side seam to the center front or center back.
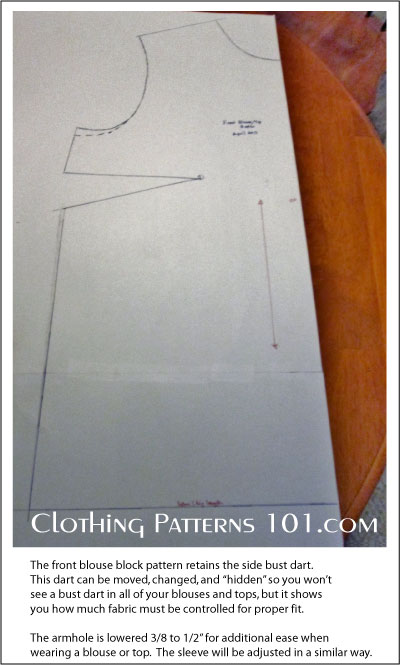
Trace around the neck, shoulder, and armhole (and the side bust dart on the front).
When tracing the front blouse block, keep the side bust dart.
You do not need to have a bust dart in every blouse or top that you make - darts can be easily moved, manipulated, and, in effect, hidden from sight. But they are always there in some form - a shaping seam, some extra fullness or gathering, or a yoke can be used in place of a dart. They all serve the same purpose: to control the fabric around your curves and ensure proper fit.
So keeping the side bust dart tells you how much fabric needs to be controlled, and how much needs to be manipulated for fit.
You can also drop the bottom of the armhole 3/8" to 1/2" for more freedom of movement in the sleeve; you'll adjust the sleeve the same amount.
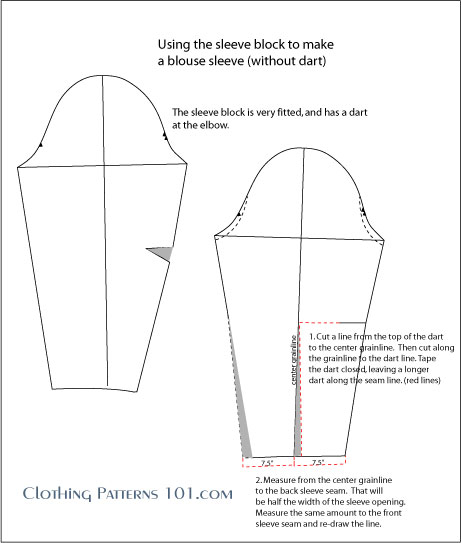
To make the blouse sleeve pattern, you'll first remove the elbow dart, then make the wrist opening a bit larger.
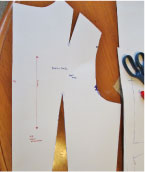
To close the dart, draw a line and then cut from the end of the dart to the center grainline. Then cut along the grainline from the wrist to the line you just cut.
Tape the dart closed; this will open up a new dart at the bottom of the sleeve.
Measure the sleeve opening from the grainline to the back seam line (including the new dart at the wrist). Measure the same amount from the grainline to the front seam line, and re-draw the front seamline.
Opening the dart at the wrist increases the opening at the back side of the sleeve; duplicating that measurement on the front side balances the sleeve.
Testing the Blouse for Fit
Test your blouse block by cutting the blouse in muslin, and fitting it as you did with the fitted bodice.
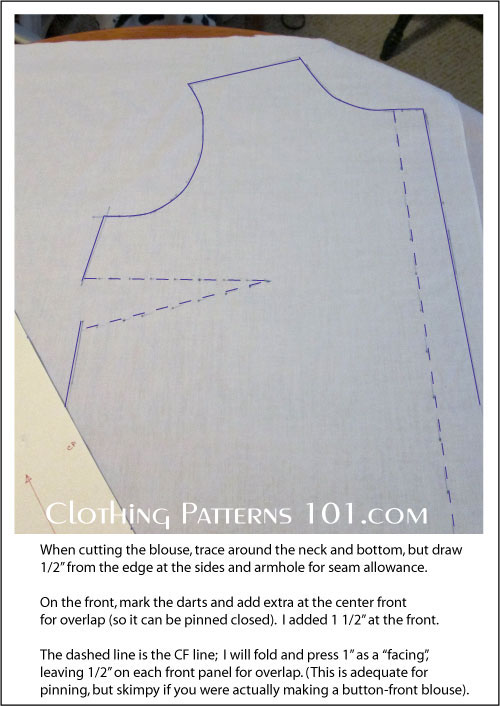
In this case, however, you're using a block without seam allowances. Lay the pattern on your muslin and use a fabric marker to draw your cutting lines.
Draw your lines 1/2" from the pattern at the sides, armhole, and shoulder - this is your seam allowance.
You can trace the block directly at the bottom and the neckline. Since this is for fit only, we won't be adding a finish to the neckline or hem, so there is no need for seam or hem allowance.
On the front, trace the dart, too, and add 1 1/2" at the center front for overlap so you can pin the blouse closed (mark the center front with a dashed line and make sure the dashed lines match up when you pin the blouse closed).
Trace the sleeve with 1/2" seam allowance at the sides and sleeve cap; do not add a hem.
When you cut and sew your blouse, it should fit well - after all, it's made from your block pattern, and that should fit perfectly!
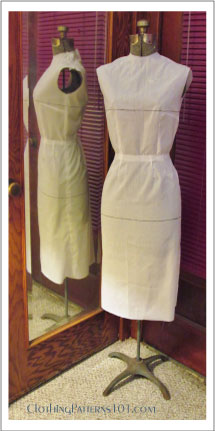
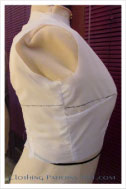
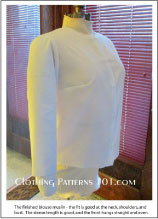
This is the finished blouse muslin I made from my pattern block - it looks pretty good, doesn't it?
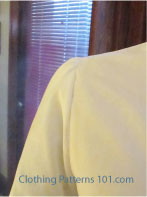
It fits well at the shoulders, armhole, and bust. While it isn't a loose-fitting blouse, it hangs nicely and closes easily in the front without any gaps at the bust (I pinned just above and below the bustline, not at the center bust, yet it isn't pulling open).
The sleeve length is good for me (I tried it on). The padded arm is marked at a point longer than my arm; my arms are quite short.
What's the Next Step?
So now you have a perfectly fitted women's blouse block!
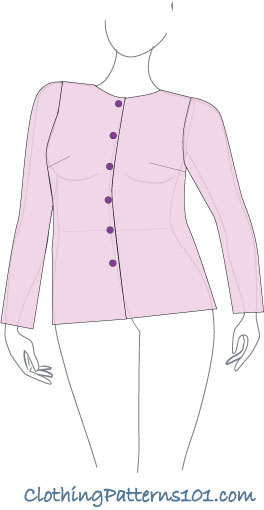
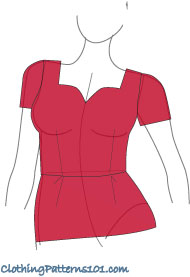
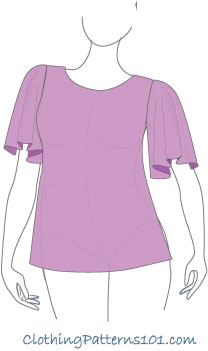
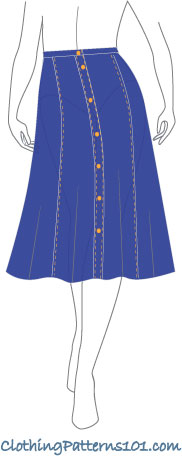
You are ready to start designing tops, blouses, dresses, skirts, and jackets. You have the tools you need to create just about anything you want - so choose the sleeve, collar, skirt and details that you want, and start making your own patterns!
Clothing Styles You Can Create Yourself!
Need More Help with Fitting Issues?
The examples on this site reflect MY fitting issues and how I resolved them. Your body is likely very different.
But, since this is a site about the mechanics of making patterns and not specifically about fitting, I'm not going to address other fit issues here. And believe me, there are others who can address this issue better than me.
Any of the books listed below will help you achieve good fit. You can use the techniques on any pattern; but why make the same corrections over an over again? Apply the principles to your block, and the fit corrections YOU need will be automatically built in to every pattern you make!
I can recommend any of the following books and an online courses to help you achieve good fit, no matter what your size or shape. I own or have used almost all of the books on this list, and have been pleased with how they address fit problems.
And there are a couple that address plus sizes, too!
Click on the links below to go to the item in Amazon. As an Amazon Associate I earn from qualifying purchases. This helps to keep this site free for your use. You are free to search Amazon for these or other similar items without using the affiliate links on this page.
I am also an affiliate of Craftsy, and receive a small commission on their classes. I have taken several Craftsy classes, and highly recommend them. Click on the text links, below, to find the classes at the Craftsy site. You may need to become a member to access the classes.
- Pattern Fitting With Confidence - A very useful book written by the late Nancy Zieman, host of the TV series "Sewing with Nancy". She provides a straightforward, down-to-earth approach to sewing and fitting. Very user-friendly.
- The Complete Photo Guide to Perfect Fitting - I love this book!!! So wonderfully illustrated with photos, using commercial patterns to demonstrate the pattern alterations. It addresses almost any fit problem you might have. So easy to understand and follow!
-Sewing for Plus Sizes - Creating Clothes that Fit and Flatter - A great book for Plus sizes! As a woman gets larger, it's not just the measurements that change - our overall proportions shift, too. This book addresses the different body types and proportions you commonly see in larger women. Truly helpful for larger women.
- Fitting Solo from Measurements to Muslin - This class shows you how to take your own measuements (fundamental to creating your block), and then make adjustments to the pattern (make these changes to the FITTING pattern for a perfectly fitted block!). You will also make a muslin, as I have described in the block-making process. It's kind of like the instructions on this site, but with video demonstrations!- Pattern Alterations: Fixing Fit Issues - This course covers pattern alterations to correct a gaping neckline, sleeve issues (including fitting the bicep), and making adjustments to the abdomen and seat areas.
- Plus Size Pattern Fitting and Design - As a size 16 (and only 5'2" tall), I qualify as a Plus size. And I've taken this class with Barbara Deckert - it is FABULOUS! Aside from the fitting tips, she also explains the style lines and silhouettes that are flattering to the Plus size figure. I highly recommend this class!
